


IP Tables Playground
-
- 21/01/2026
In this LAB we are going to install and set up the IPTables inside linux machines.
Explaining IP Tables
what more exciting of a fairytale ?! So to begin Imagine your computer/system is like a castle, and the castle has a big wall around it. This wall is there to keep out dragons (bad stuff from the internet) and only let in knights and friendly creatures (good things you want) get inside. Now, the computer’s firewall is like the guard at the gate. This guard, called “IPTables,” decides who can come in and who has to stay out. It has a list of rules, like a set of instructions. If a knight (a good program or connection) comes to the gate and follows the rules, the guard lets them in. But if a dragon (a bad program or hacker) shows up or doesn’t follow the rules, the guard blocks them and keeps the castle safe.

So, IPTables is like the brave guard protecting your castle (computer) from dragons (bad stuff) and only allowing in the friendly knights (good things) come inside, and we are the wizards – mechanics that we are going to teach them how to recognize good from bad.
From fairytale to real world
Everyone wants to leave inside fairytale but we have to see the real world scenario and defend from real world enemies that are worst than a dragon (they cant be eliminated with just a sword and seen from far !)
So lets dive into IPTables, Iptables is a firewall program for Linux. It will monitor traffic from and to your server using tables. These tables contain sets of rules, called chains, that will filter incoming and outgoing data packets.
Rules and settings
When an incoming or outgoing packet matches a rule, it is given a target, which can be another chain or one of these special values:
- ACCEPT – will allow the packet to pass through.
- DROP – will not let the packet pass through.
- RETURN – stops the packet from traversing through a chain and tell it to go back to the previous chain.
In this lab, we are going to work with one of tables, called filter. It consists of three chains:
- INPUT – controls incoming packets to the server.
- FORWARD – filters incoming packets that will be forwarded somewhere else.
- OUTPUT – filter packets that are going out from your server.
IpTables is responsible for many things like NAT, Packet modification ever routing. A table inside ip tables is a collection of chains responsible of handling network traffic.
Packets coming inside network and processed on INPUT and as you have might guessed output packets are processed on OUTPUT chain.
Preparing the environment
In this section we are going to prepare the real-time environment in order to install iptables. We even must uninstall or disable firewalld because it initializes iptables.
Ubuntu live server
First of all, we will install ubuntu live server in order to set up ip tables. I already have the iso so I will proceed to the installation. Lets provide the information needed,
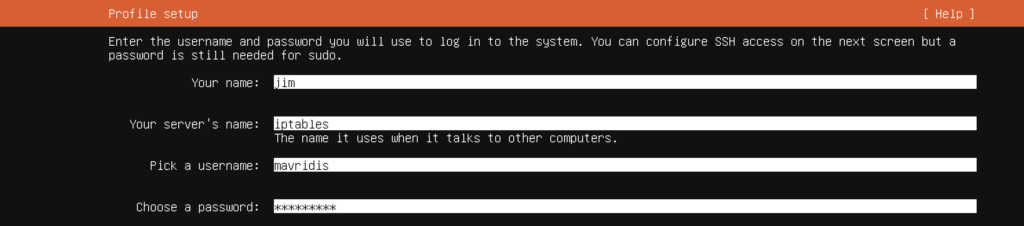
And finally do not forget to enable OpenSSH !

At this point lets establish ssh connection with the server. I am using terminal on MacOS so I am goint to type ssh mavridis@192.191.190.61 (where the ip of the ubuntu server). Next lets check the status by typing sudo iptables -L
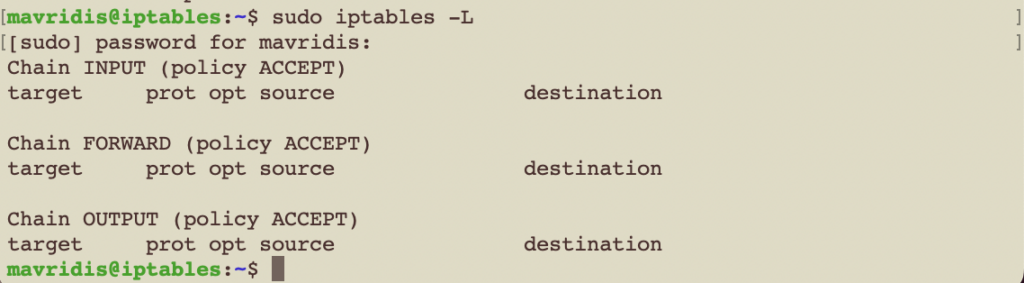
You will notice that everything is empty and no configuration has been made.
Finally, in order to test web connections on 80,443 I will install Apache web server.
sudo apt install apache2
I will use my dear Chatgpt to generate a simple html. Here imagination is our limit.
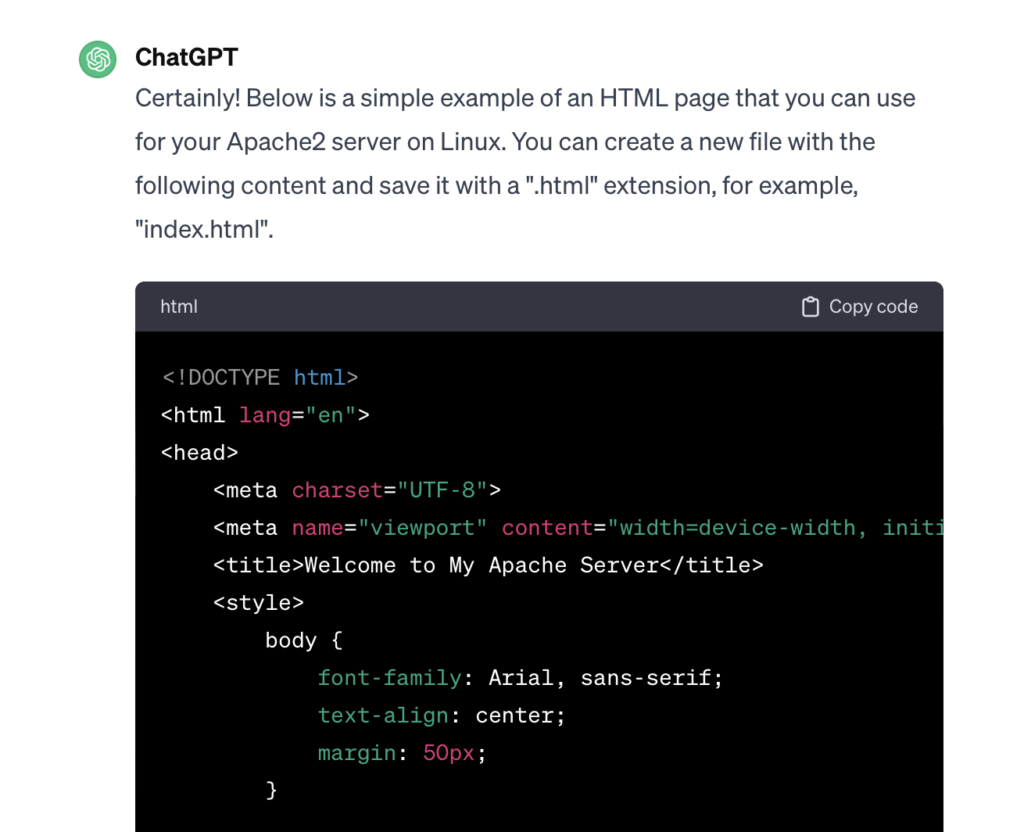
Now, as you can see on Image bellow, I will cd into www folder in order to delete the default html file and paste the chatgpt code.
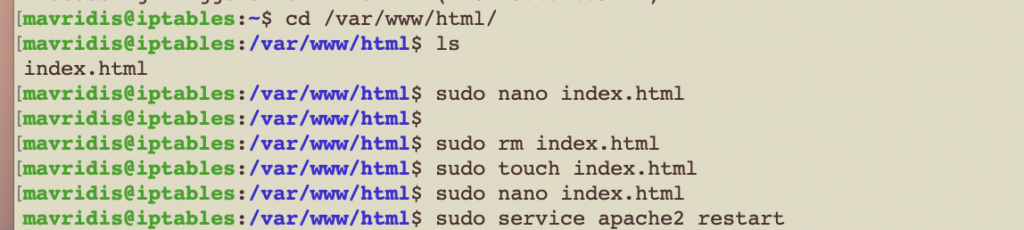
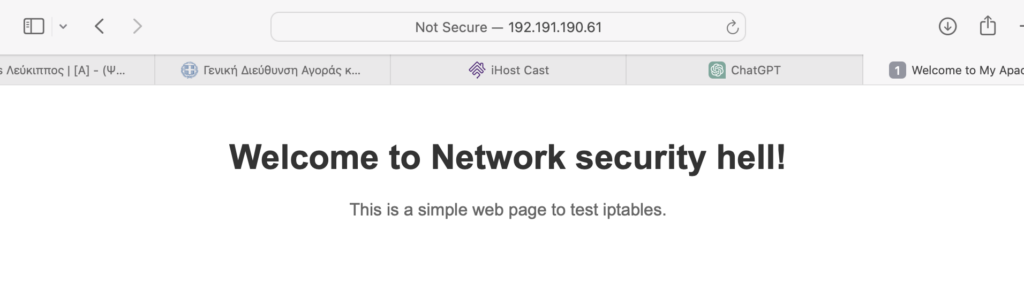
Finally, lets restart the apache2 service and check out our html page. Image 6 bellow shows the simple text page.
Setting up the rules
On the above steps, we prepared our environment and we are ready to go ! So lets add ssh to our allowed rules. At first we are going to set a rule in order to allow ssh from my mac by typing:
sudo iptables -A INPUT -p tcp -s 192.191.190.10 –dport 22 -j ACCEPT
Then, I will turn on the drop everything in order to allow myself and only to establish ssh.
sudo iptables –policy INPUT DROP
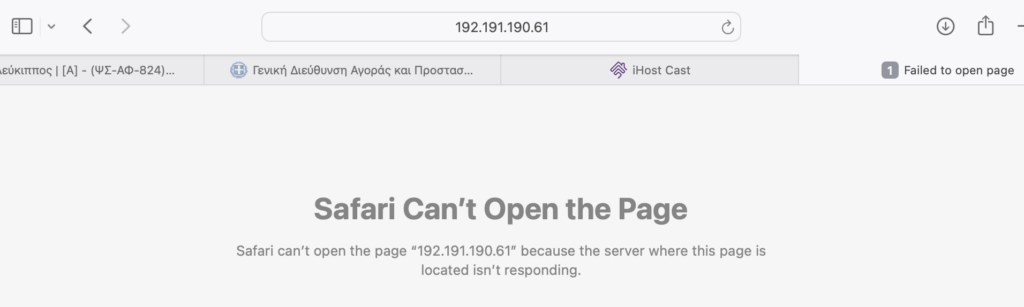
As we can see , I continue to have access using ssh on port 22 , but now I do not have access on port 80 or 443 to access webpage.
So lets use the command above in order to allow incoming connections from my entire subnet to my server
We are going to use the command bellow In order to allow 443,80 and 9001 port.
sudo iptables -A INPUT -p tcp -s 192.191.190.10 –dport 80 -j ACCEPT
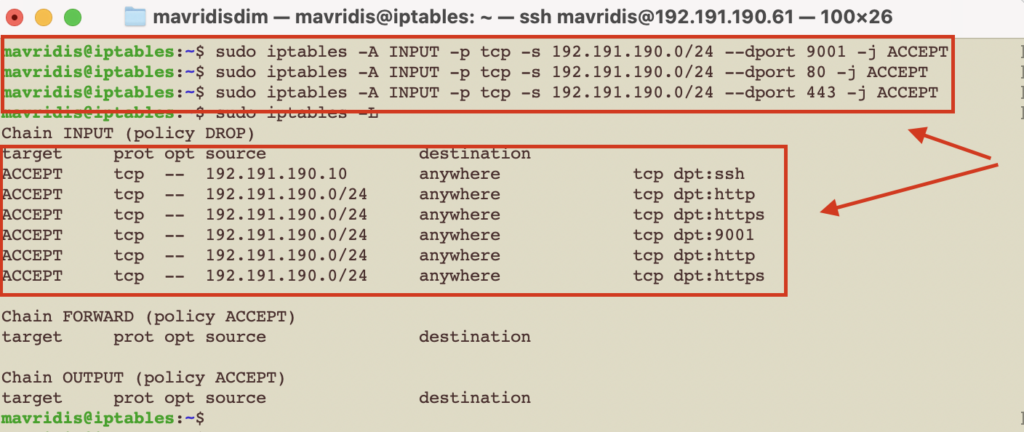
As we see, the table rule s accepting the requests shown on image 9 above. If we want to delete a rule we just need to change the letter -A to -D and enter the rule again.
Metadata
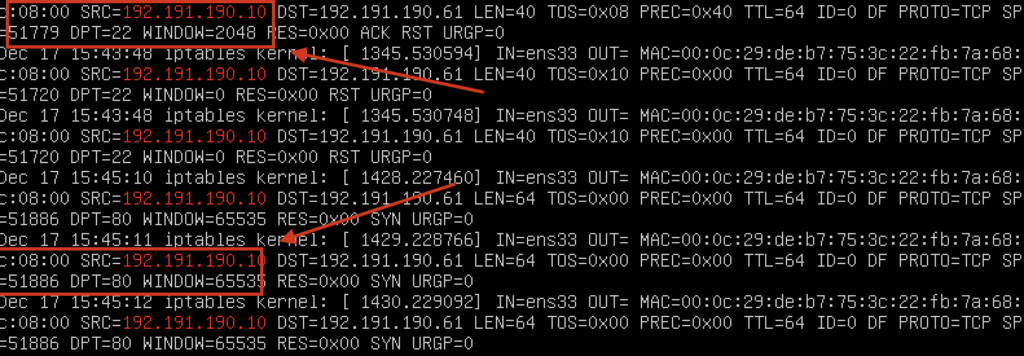
At this step we assume that the rules are created successfully and running. So my use case is over. But as security engineers we love metadata (logs) and we would like to have everything collected under our SIEM solution. So I want to collect something that gets DENIED from my iptables.
To achieve that I will use the following variables after the iptables command:

By default iptables write out on var/log/syslog or messages if we want to change it we just need to go to /etc/syslog.conf and add the following line: kern.warning /var/log/custom.log
After that lets search :

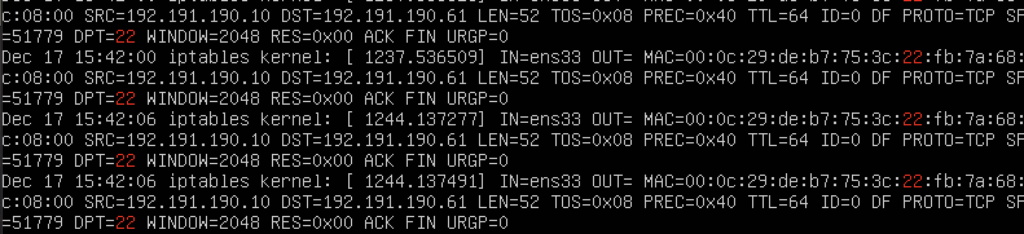
Or we can search based on ip address by inserting |grep 192.191.190.10 and see all the connection and ports